In this article, you will learn how to set up an android studio. We have explained the process in very simple steps. There are 3 steps to set up the android studio these are: download android studio, install the android studio, and running the android studio.
Download Android Studio
Google provides Android Studio for Windows, Mac OS X, and Linux platforms. Android Studio can be downloaded from the Android Studio homepage, where you’ll also find the traditional SDKs with Android Studio’s command-line tools. This is the first step to set up the android studio.
Before downloading Android Studio, make sure your platform meets the requirements stated there. Once you’ve ensured that your operating system is compatible with Android Studio, download the appropriate Android Studio distribution file. We are taking an example of installing an android studio on 64 Bit windows 10.
Installing Android Studio
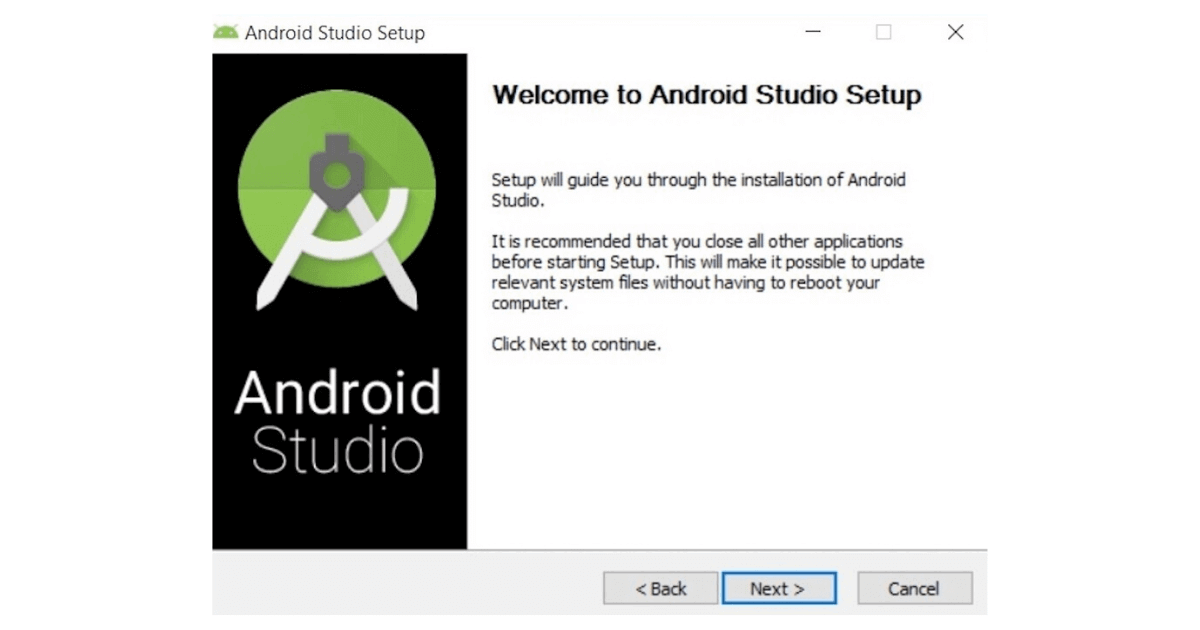
Step 1. Open the file from downloads and run it, after the downloads is completed. It will prompt the Android Studio Set up, dialog box.
Click on next.
It’ll ask for a path for installation, in the next step. Choose a path and hit next. Note: The path which you choose for installation should have the required minimum space.
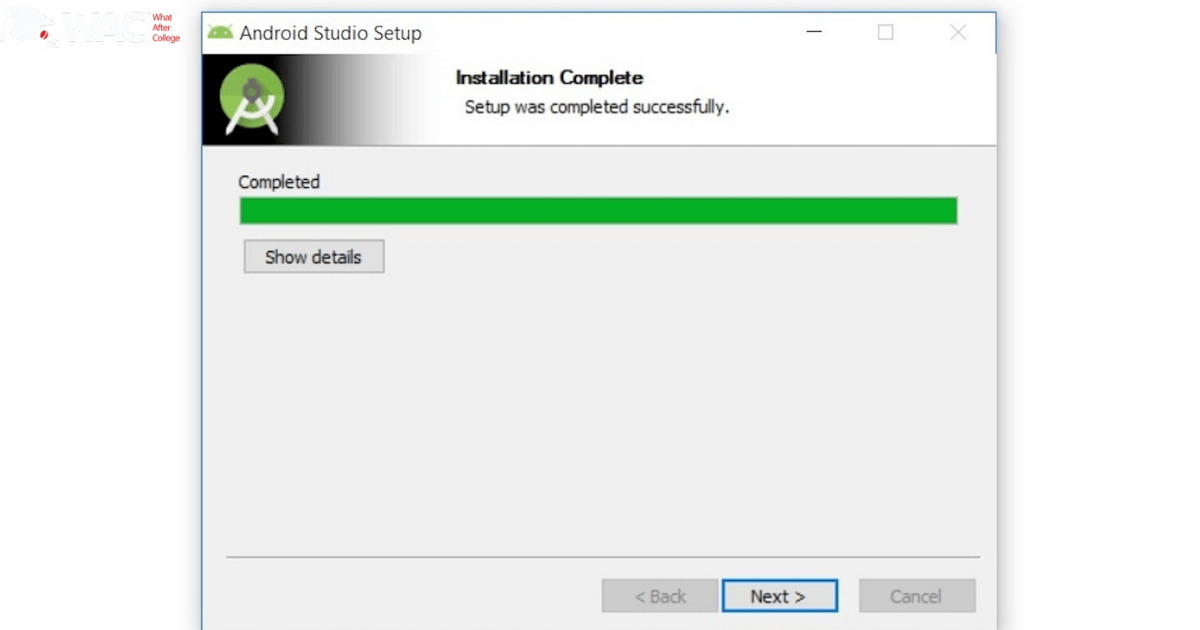
Step 2. Keep the settings as default and once it is completed. It will start the installation. When installation finished, the Installation Complete panel appears. This is the second step of process to set up the android studio.
Click on next.
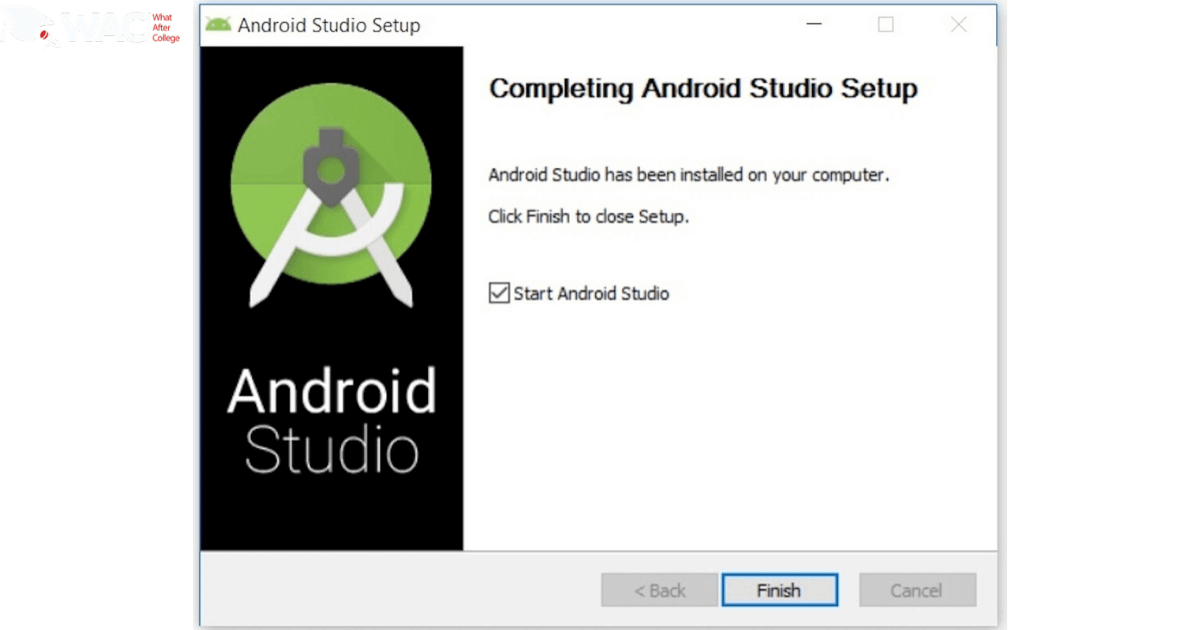
Step 3. After clicking next, the installer will present the Completing Android Studio Set up panel. To complete the installation, keep the checkbox of the Start Android Studio box checked and click Finish.
Running Android Studio
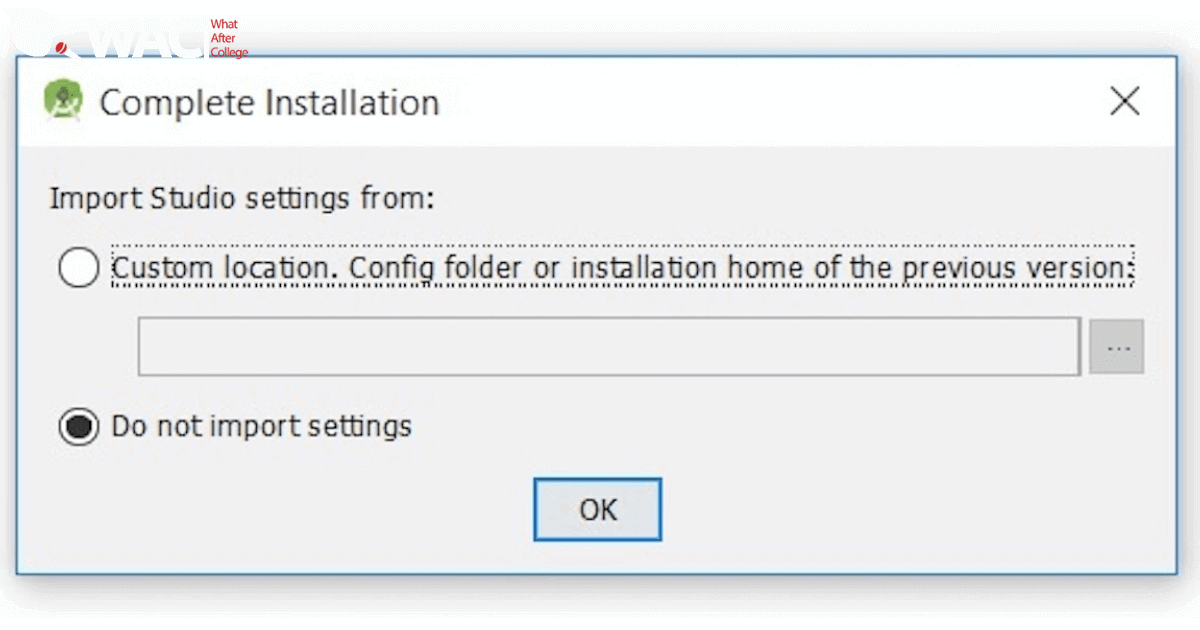
Step1. The first time Android Studio runs, it presents a Complete Installation dialog box that offers the option of importing settings from a previous installation. Note: It is better to choose the ‘Don’t import Settings option’. This is the first step to installing the process, to set up the android studio.
Click the OK button.

Step 2. This will start the Android Studio. In the meantime, it will start locating the SDK components. You need nothing to do with this, in this part of set up android studio process.
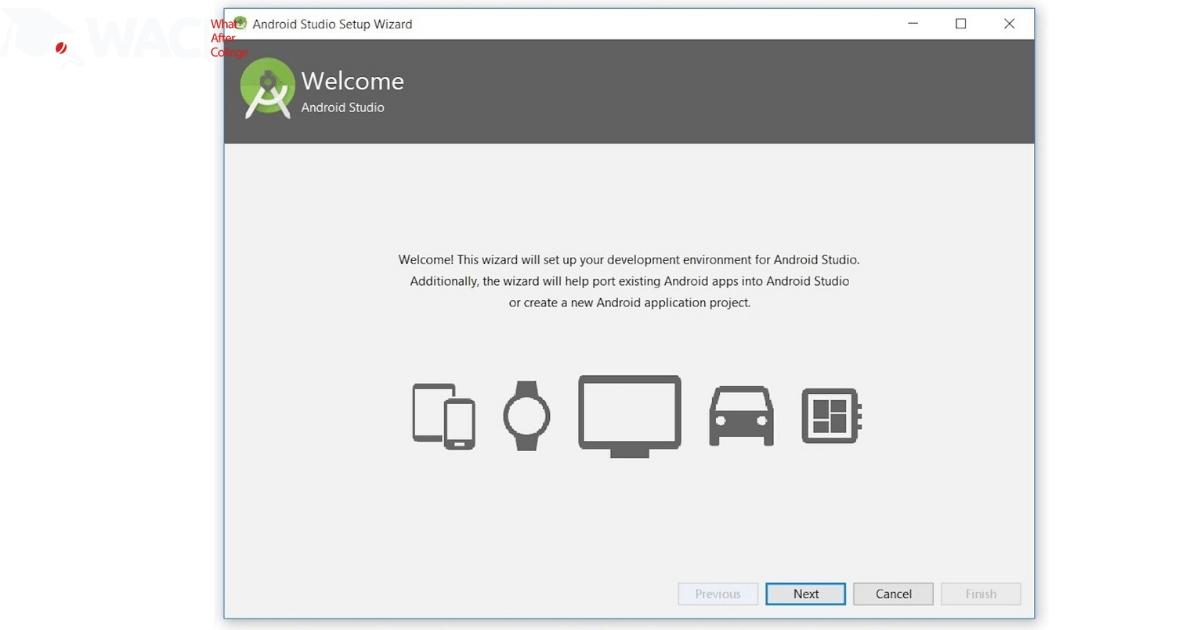
Step3. After it has found the SDK components, it will redirect to the Welcome dialog box.
Click on next.
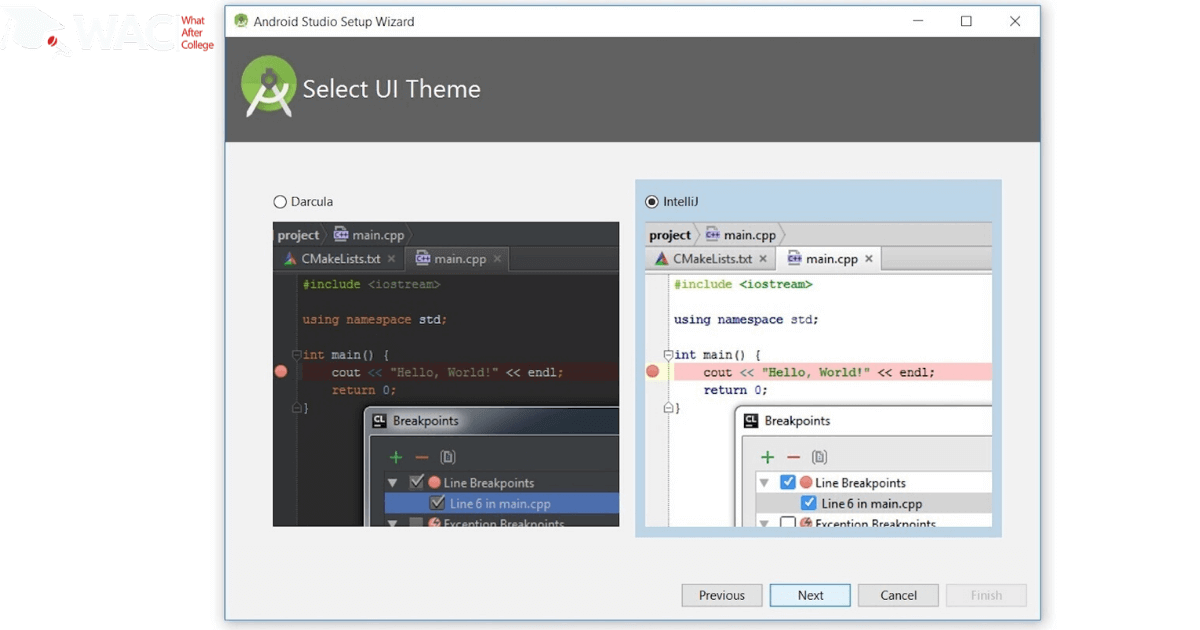
Step 4. After this installation type dialog box will appear. Choose Standard and click on Next. Now choose the theme in Select UI theme dialog box, whether Light theme or the Dark one. The IntelliJ theme is the light one whereas the dark theme is called Darcula.
Choose as required.
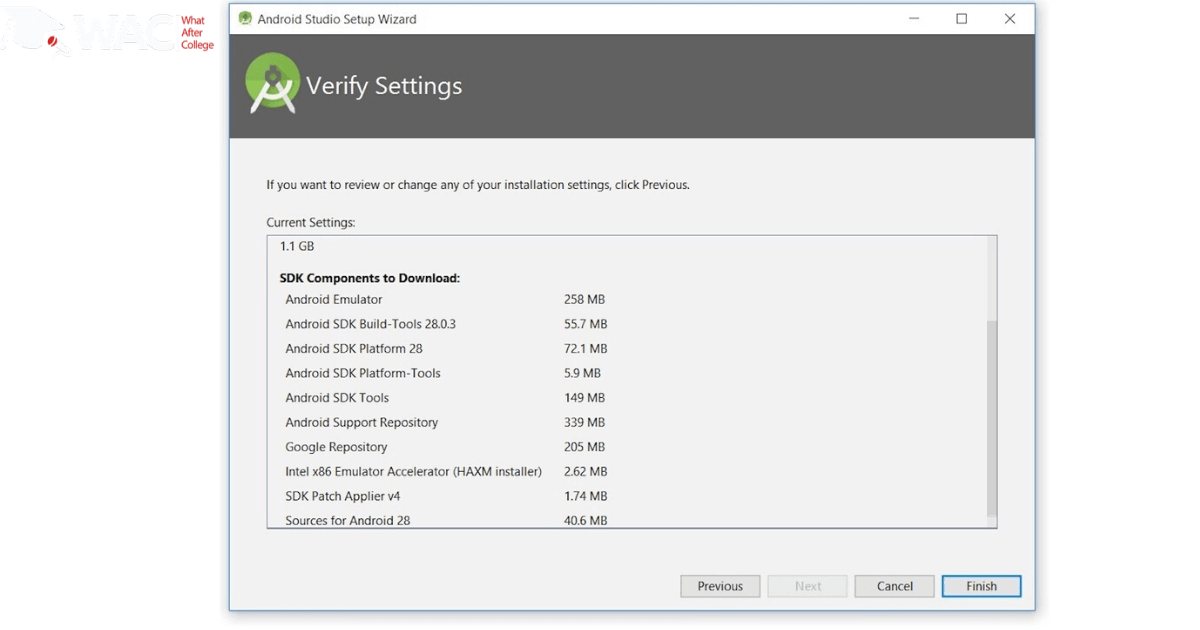
Step 5. Now it is time to download the SDK components.
Click on Finish.
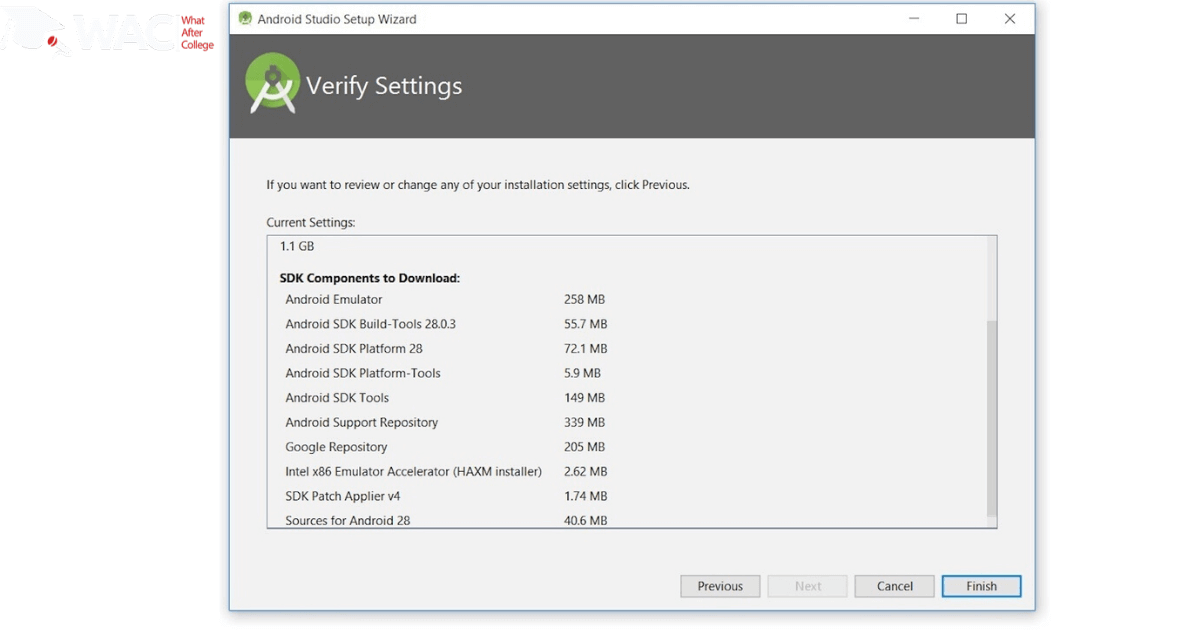
Step5. It has started downloading the components. You can see the above image if you click on show details. The Android Studio has been successfully configured. Now it’s time to launch and build apps.
Click on the Finish button to launch it.
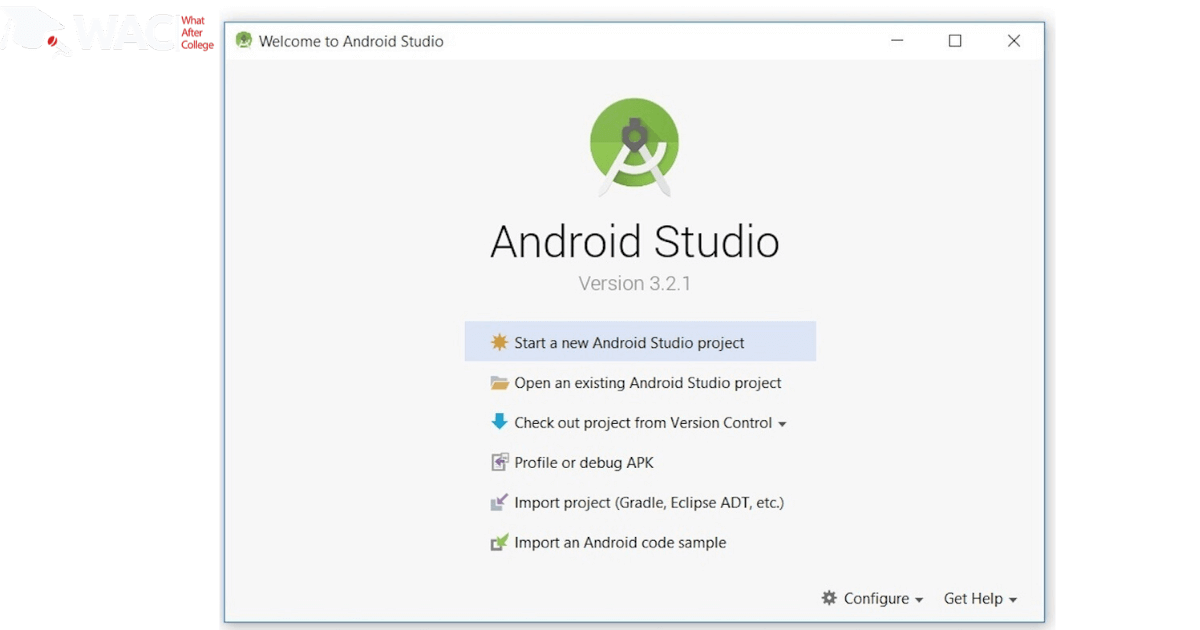
Step 6. To build a new app click on ‘Start new android project’

All you need to know about Android App Development
Learn Android App Development
Learn Android App Development with WAC
Other Skills in Demand(H3)
| Artificial Intelligence | Data Science |
| Digital Marketing | Business Analytics |
| Big Data | Internet of Things |
| Python Programming | Robotics & Embedded System |
| Android App Development | Machine Learning |

